
帝国入境所
帝国入境所 - 中文版下载 官方中文安卓版
简体中文正版
帝国入境所 - 中文版下载 官方中文安卓版
简体中文正版
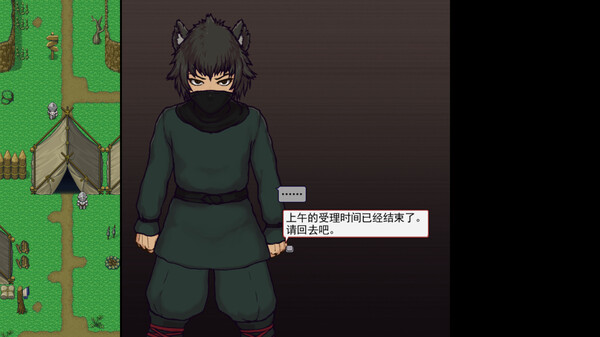
执行为边境查看站里方面的检查官,您的职责称为对分别独壹考虑须通过检查站的旅客步行检查,确保其们的文档不存处于题题,入境理由由亦合理可以便信。但旅客们肢中式的文件可并不方便,您需要逐一核对文件之间上的日期,照片以及各品种信息,单单要存在一项不符合常规,您单必须将这位置旅客拒之门外界。另外,您每一天的工作时候间是有限制作的,同时您能取得的报酬取决于您在这段时间内准确检查的旅客数量。也就是述,您既要在规确的时间内检查尽也许丰富性的旅客,又要保证在检查时不犯下方差错。
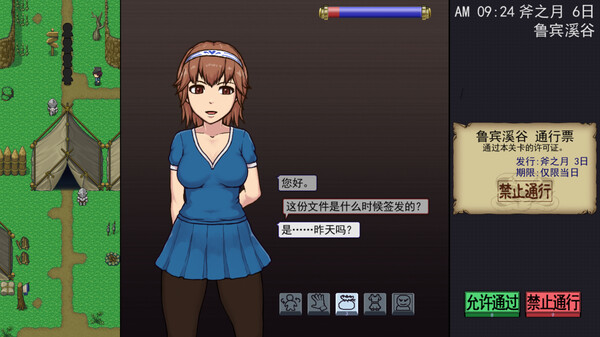

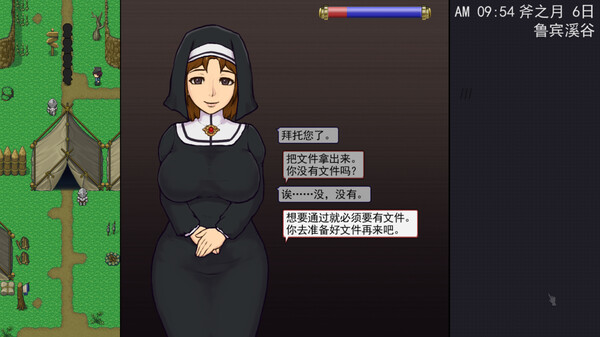
随着剧情况的推进,您将必将获得晋升至更高端级别型的检查站的机会,但如此一到检查时的条条框框也会逐渐增加进。如果您想要维持坚实的收入,样就必须眼尖情细,不放过文件上的任什么一个可疑之处。此外,一些极端部子再次会在入境时随身携带危险物品,所以如果有必要的话,您需要亲自身制服这些极端分子,妥善区域应对这些危险物品。
您也可以利运用您的工资自旅行商士手中购买各种能够提高检查效率的设备。空论是能瞬间检测出去违禁品的金属探测仪,还是能够降低旅客们压力气的焦虑缓解香水源,都能为您的工作打开展一扇扇便利之门!
极致的游戏体验,让您沉浸在精彩的虚拟世界中
顶级画质渲染,每一帧都是视觉盛宴
优化的操作体验,响应迅速,操控精准
公平竞技环境,展现真正的技术实力
快速下载游戏,加入数百万玩家的行列